Install on CentOS (Production)
Install FlexAdmin with Nginx on CentOS 8 (LEMP)
Requirements
Laravel FlexAdmin has a few requirements you should be aware of before installing:
- Composer
- Node.js (Version 19.x+)
- NPM 9+
- PHP 8.2+
- MySQL/MariaDB
Step 1: Creating a Database for the Application
sudo mysql -uroot -pAfter entering your MySQL password. Run the following command from your MySQL console:
CREATE DATABASE laravel_flexadmin;Now you can create a new user and grant them full privileges on the custom database you’ve just created. In this example, we’re creating a user named flexadmin_user with the password password, though you should change this to a secure password of your choosing:
CREATE USER 'flexadmin_user'@'%' IDENTIFIED WITH mysql_native_password BY 'password';Now we need to give this user permission over the laravel_flexadmin database:
GRANT ALL ON laravel_flexadmin.* TO 'flexadmin_user'@'%';This will give the flexadmin_user user full privileges over the laravel_flexadmin database, while preventing this user from creating or modifying other databases on your server.
Following this, exit the MySQL shell:
exitStep 2: Uploading laravel_flexadmin.zip to your CentOS server
After uploading the laravel_flexadmin.zip file to the CentOS server, extract it.
Step 3: Create .env file
In the project’s root directory, copy .env.example into .env and configure your APP_URL
Example:
APP_URL=https://laravel.flexadmin.ioStep 4: Install the project’s dependencies
Go to the project’s root directory using the terminal window/command prompt
Download the project’s dependencies:
composer installStep 5: Config database:
Now that you have created your Laravel application, you probably want to store some data in a database. By default, your application’s .env configuration file specifies that Laravel will be interacting with a MySQL database and will access the database at 127.0.0.1.
DB_CONNECTION=mysql
DB_HOST=127.0.0.1
DB_PORT=3306
DB_DATABASE=laravel_flexadmin
DB_USERNAME=flexadmin_user
DB_PASSWORD=password
Step 6: Running the Migration
Once you have configured your SQL database, you may run your application’s database migrations, which will create your application’s database tables:
php artisan migrate
Step 7: Running Seeders
php artisan db:seedStep 8: Install node modules
npm installStep 9: Build and version the assets for production
npm run buildStep 10: Setting Up Nginx
We have installed Laravel FlexAdmin on a local folder of your remote user’s home directory, and while this works well for local development environments, it’s not a recommended practice for web servers that are open to the public internet. We’ll move the application folder to /var/www, which is the usual location for web applications running on Nginx.
First, use the mv command to move the application folder with all its contents to /var/www/:laravel_flexadmin
sudo mv ~/laravel_flexadmin /var/www/laravel_flexadminNow we need to give the web server user write access to the storage and cache folders, where Laravel stores application-generated files:
sudo chown -R apache:apache /var/www/laravel_flexadmin/storage
sudo chown -R apache:apache /var/www/laravel_flexadmin/bootstrap/cache
The application files are now in order, but we still need to configure Nginx to serve the content. To do this, we’ll create a new virtual host configuration file at /etc/nginx/sites-available:
sudo nano /etc/nginx/sites-available/laravel_flexadminThe following configuration file contains the recommended settings for Laravel applications on Nginx:
server {
    listen 80;
    listen [::]:80;
    server_name example.com;
    root /srv/example.com/public;

    add_header X-Frame-Options "SAMEORIGIN";
    add_header X-Content-Type-Options "nosniff";

    index index.php;

    charset utf-8;

    location / {
        try_files $uri $uri/ /index.php?$query_string;
    }

    location = /favicon.ico { access_log off; log_not_found off; }
    location = /robots.txt  { access_log off; log_not_found off; }

    error_page 404 /index.php;

    location ~ \.php$ {
        fastcgi_pass unix:/var/run/php/php8.2-fpm.sock;
        fastcgi_param SCRIPT_FILENAME $realpath_root$fastcgi_script_name;
        include fastcgi_params;
    }

    location ~ /\.(?!well-known).* {
        deny all;
    }
}
Copy this content to your /etc/nginx/sites-available/laravel_flexadmin file and, if necessary, adjust the highlighted values to align with your own configuration. Save and close the file when you’re done editing.
To activate the new virtual host configuration file, create a symbolic link to laravel_flexadmin in sites-enabled:
sudo ln -s /etc/nginx/sites-available/laravel_flexadmin /etc/nginx/sites-enabled/To confirm that the configuration doesn’t contain any syntax errors, you can use:
sudo nginx -tYou should see output like this:
Outputnginx: the configuration file /etc/nginx/nginx.conf syntax is ok
nginx: configuration file /etc/nginx/nginx.conf test is successful
To apply the changes, restart Nginx with:
systemctl restart nginxNow go to your browser and access the application using the server’s domain name or IP address, as defined by the server_name directive in your configuration file:
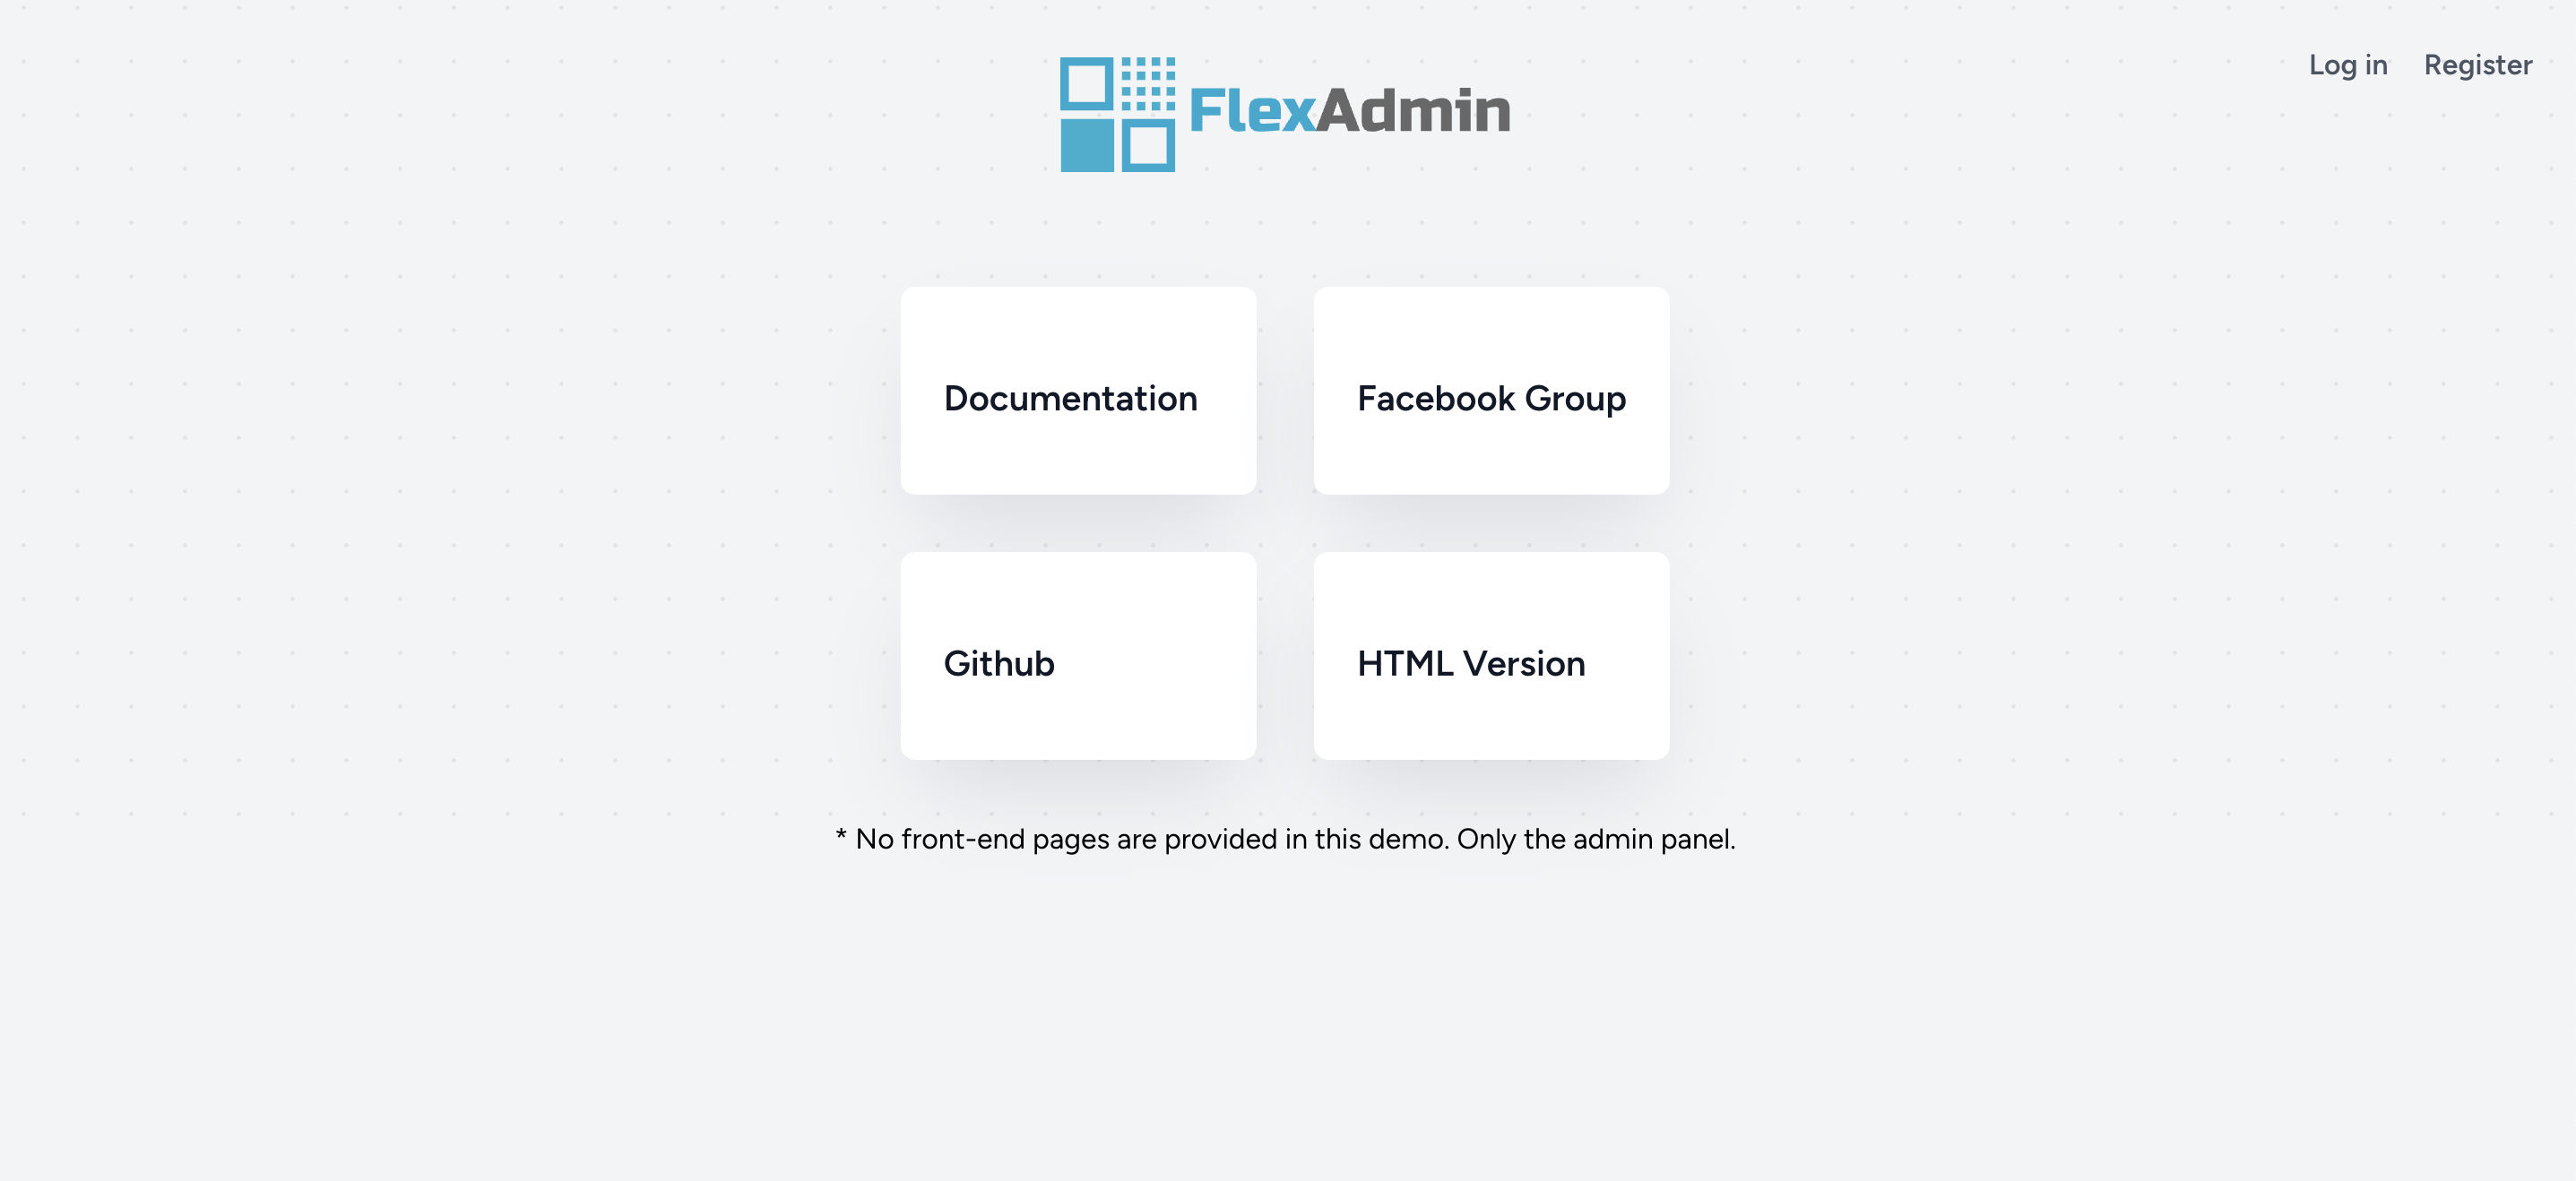
http://server_domain_or_IPYou will see a page like this:

That confirms your Nginx server is properly configured to serve Laravel. From this point, you can start building up your application on top of the skeleton provided by the default installation.


